


Villa Build Update: How it's going with The Woodrow
A peek inside our luxury seaview pool villa build on Koh Phangan

Thank you to everyone who signed up recently! I got a flood of new signups from last week’s post — makes sense since it was a juicy one ;) (IKYMI, I’ll link to it at the end of the post.)
This week’s post is free. Enjoy. And subscribe to get these posts straight to your inbox the moment they’re published!
It’s been a while since I updated you on our villa build so I thought it was about time. I know I haven’t done a Living Abroad Ledger this month — apologies. I need to find more time to write. I’m working on resetting my life (I think it’s clear I need it), and getting rid of the things that aren’t working for me. Big life changes are in the pipeline… I’m just not yet at a stage I can announce them publicly.
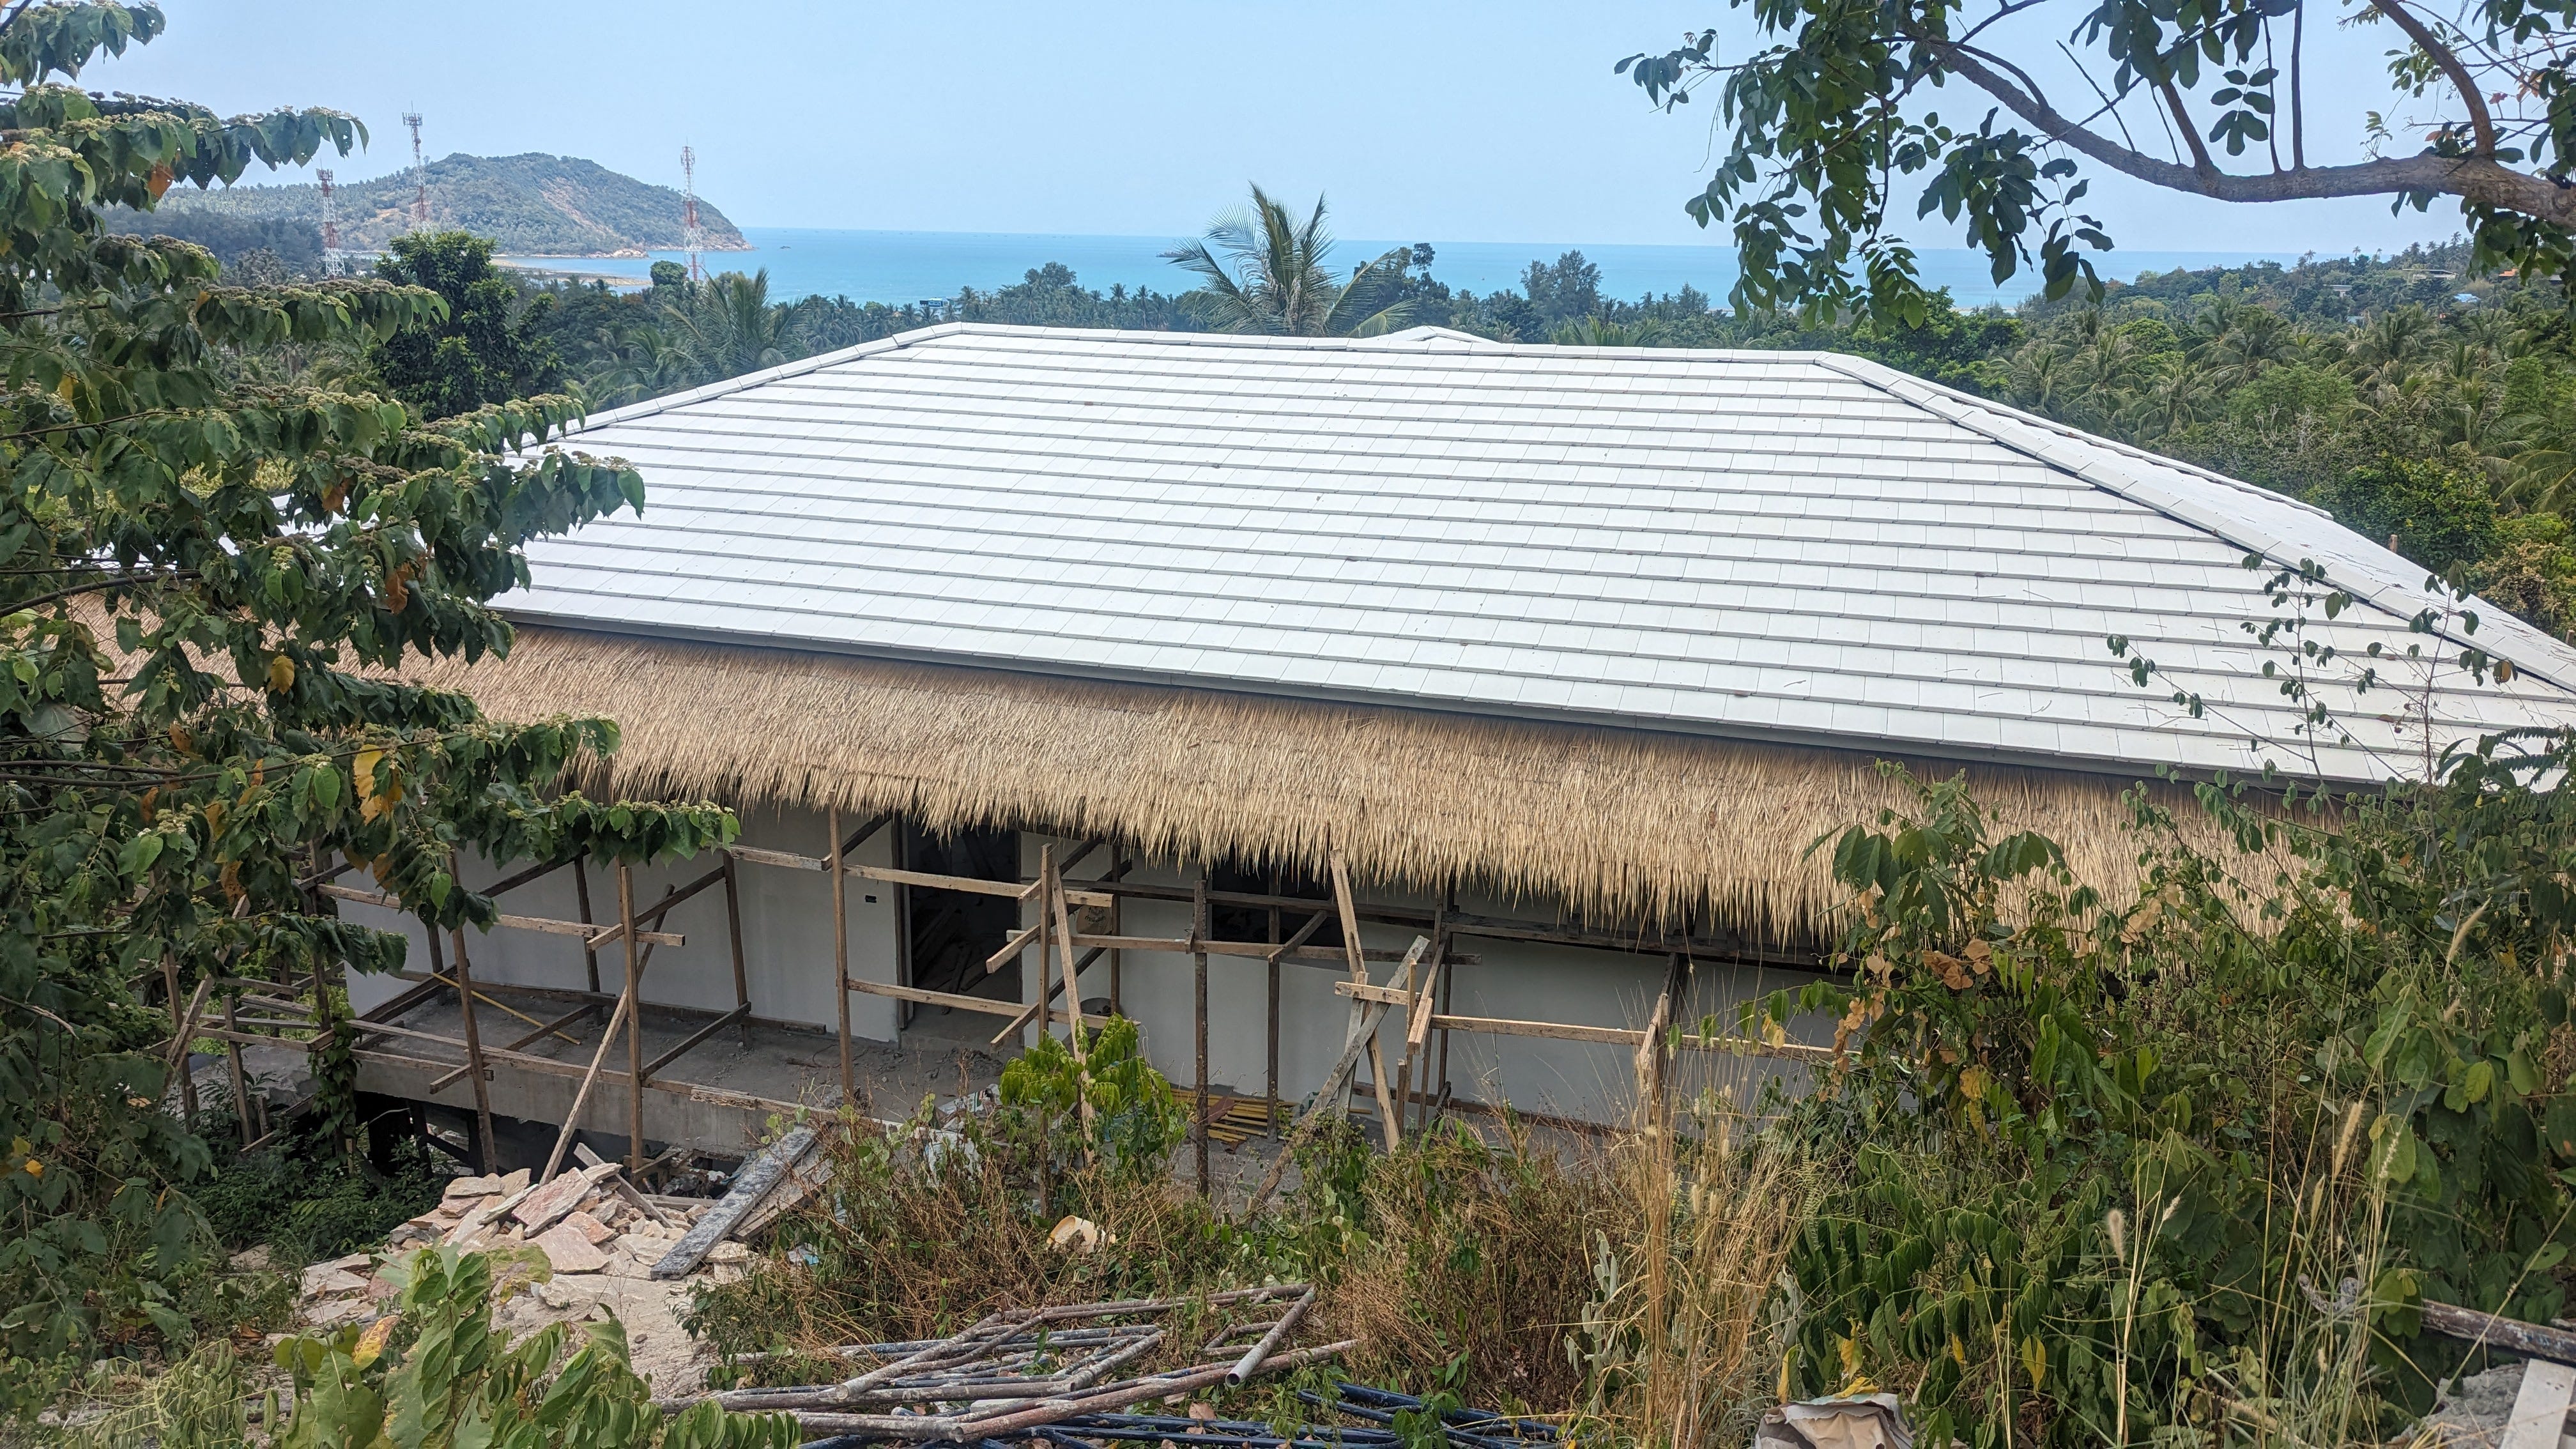
So, The Woodrow. The build is going a bit slower than we’d anticipated. This tends to happen when you’re managing 14 other projects! Fraser estimates the build should be complete in 3 - 4 months, so I’m now pushing to have it ready for the start of August. Furnished and all. Let’s see.
But it’s coming along and the place is really starting to come together. I even had our first official showing this week, with apparently more in the pipeline from the real estate agency we are working with (we are open to working with more, whoever sells takes commission!).
What’s the latest?
The seaview is even more impressive
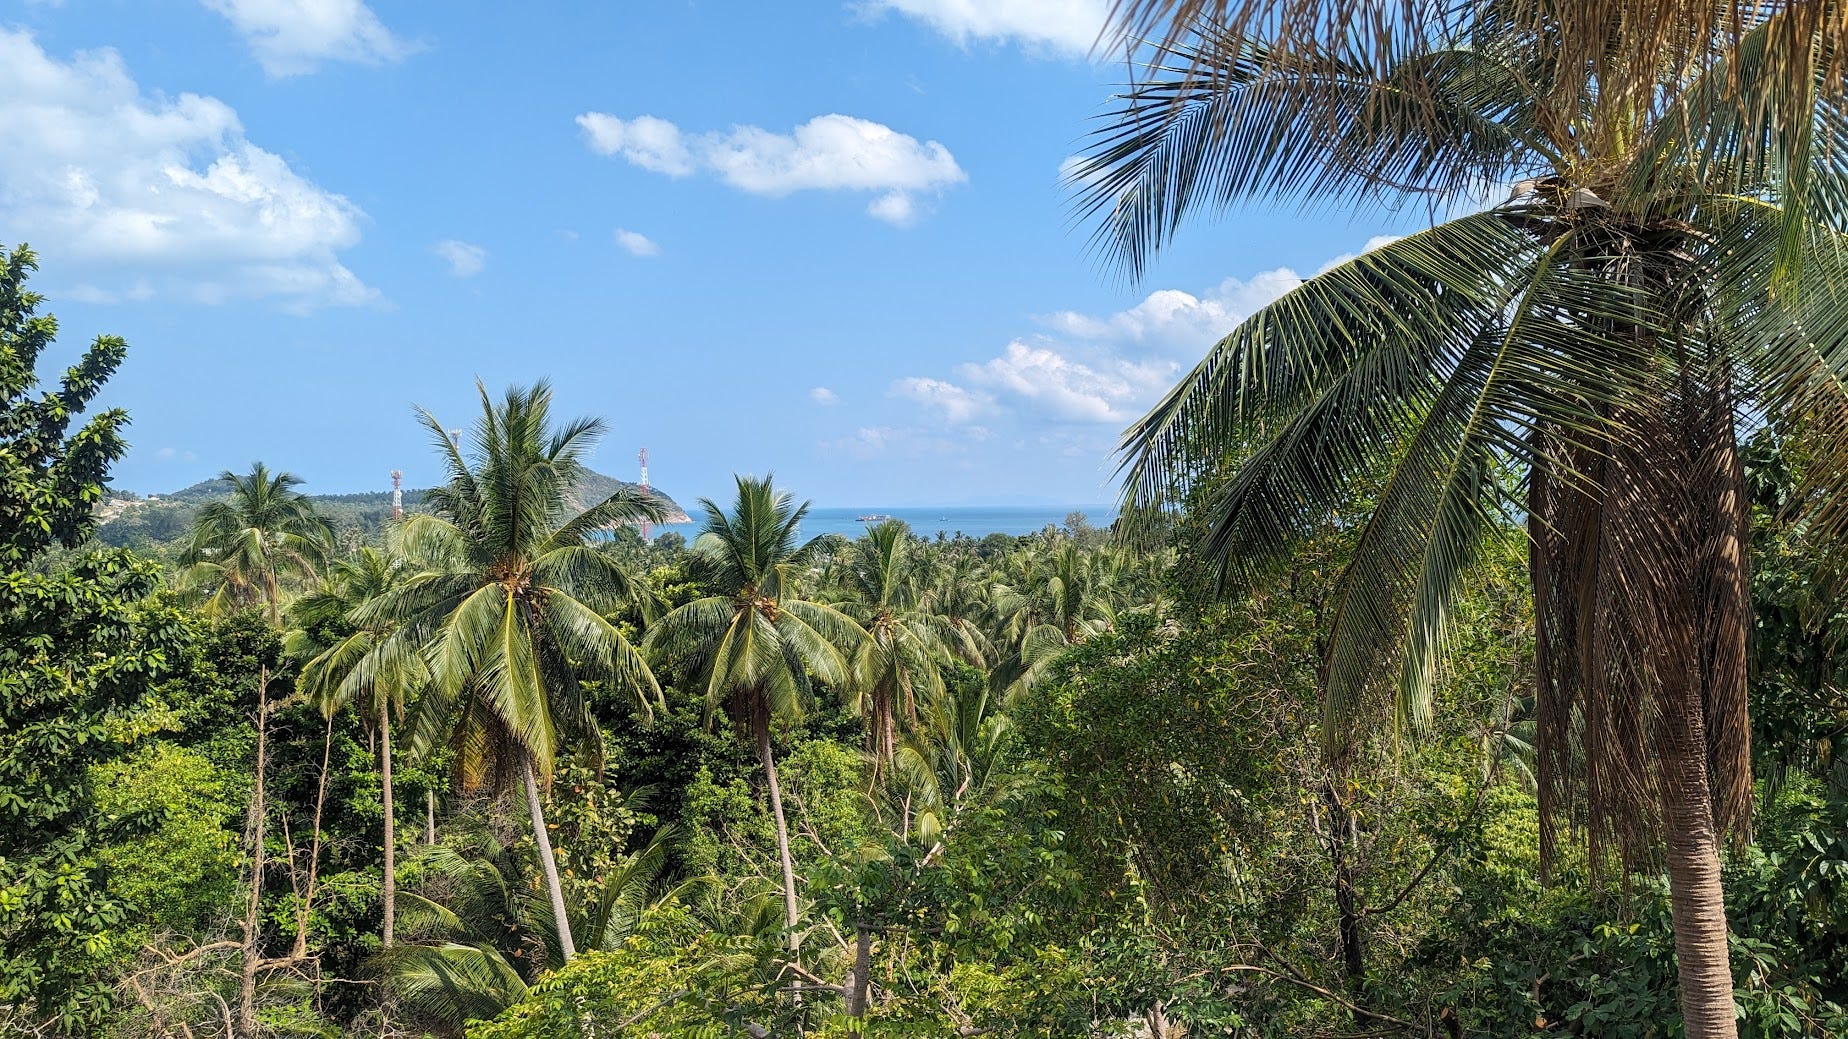
Now we’ve finally got someone in to trim the tops of some of the trees that were blocking the view. The process doesn’t kill the tree, just stunts its growth and causes it to grow outwards instead of upwards. Genius! The tree man threw his back out while doing the job though, so there are still a few trees left to be lopped.
But look at this view! What a difference.
We’re adding a 4th bedroom!


I’m super excited about this one. Basically we made the storage room quite large, and then realised once the structure was up that there’s LOADS of room in the downstairs area of the villa to put an indoor storage room. Which meant that we could convert the upstair storage room into a study/bedroom. It’s on the small side, so it will have a day bed ideal for either a child or an extra guest, a desk, and we’re widening the window so it extends across the entire back wall and goes down to just above where the bed will be.
There’s paint on the walls
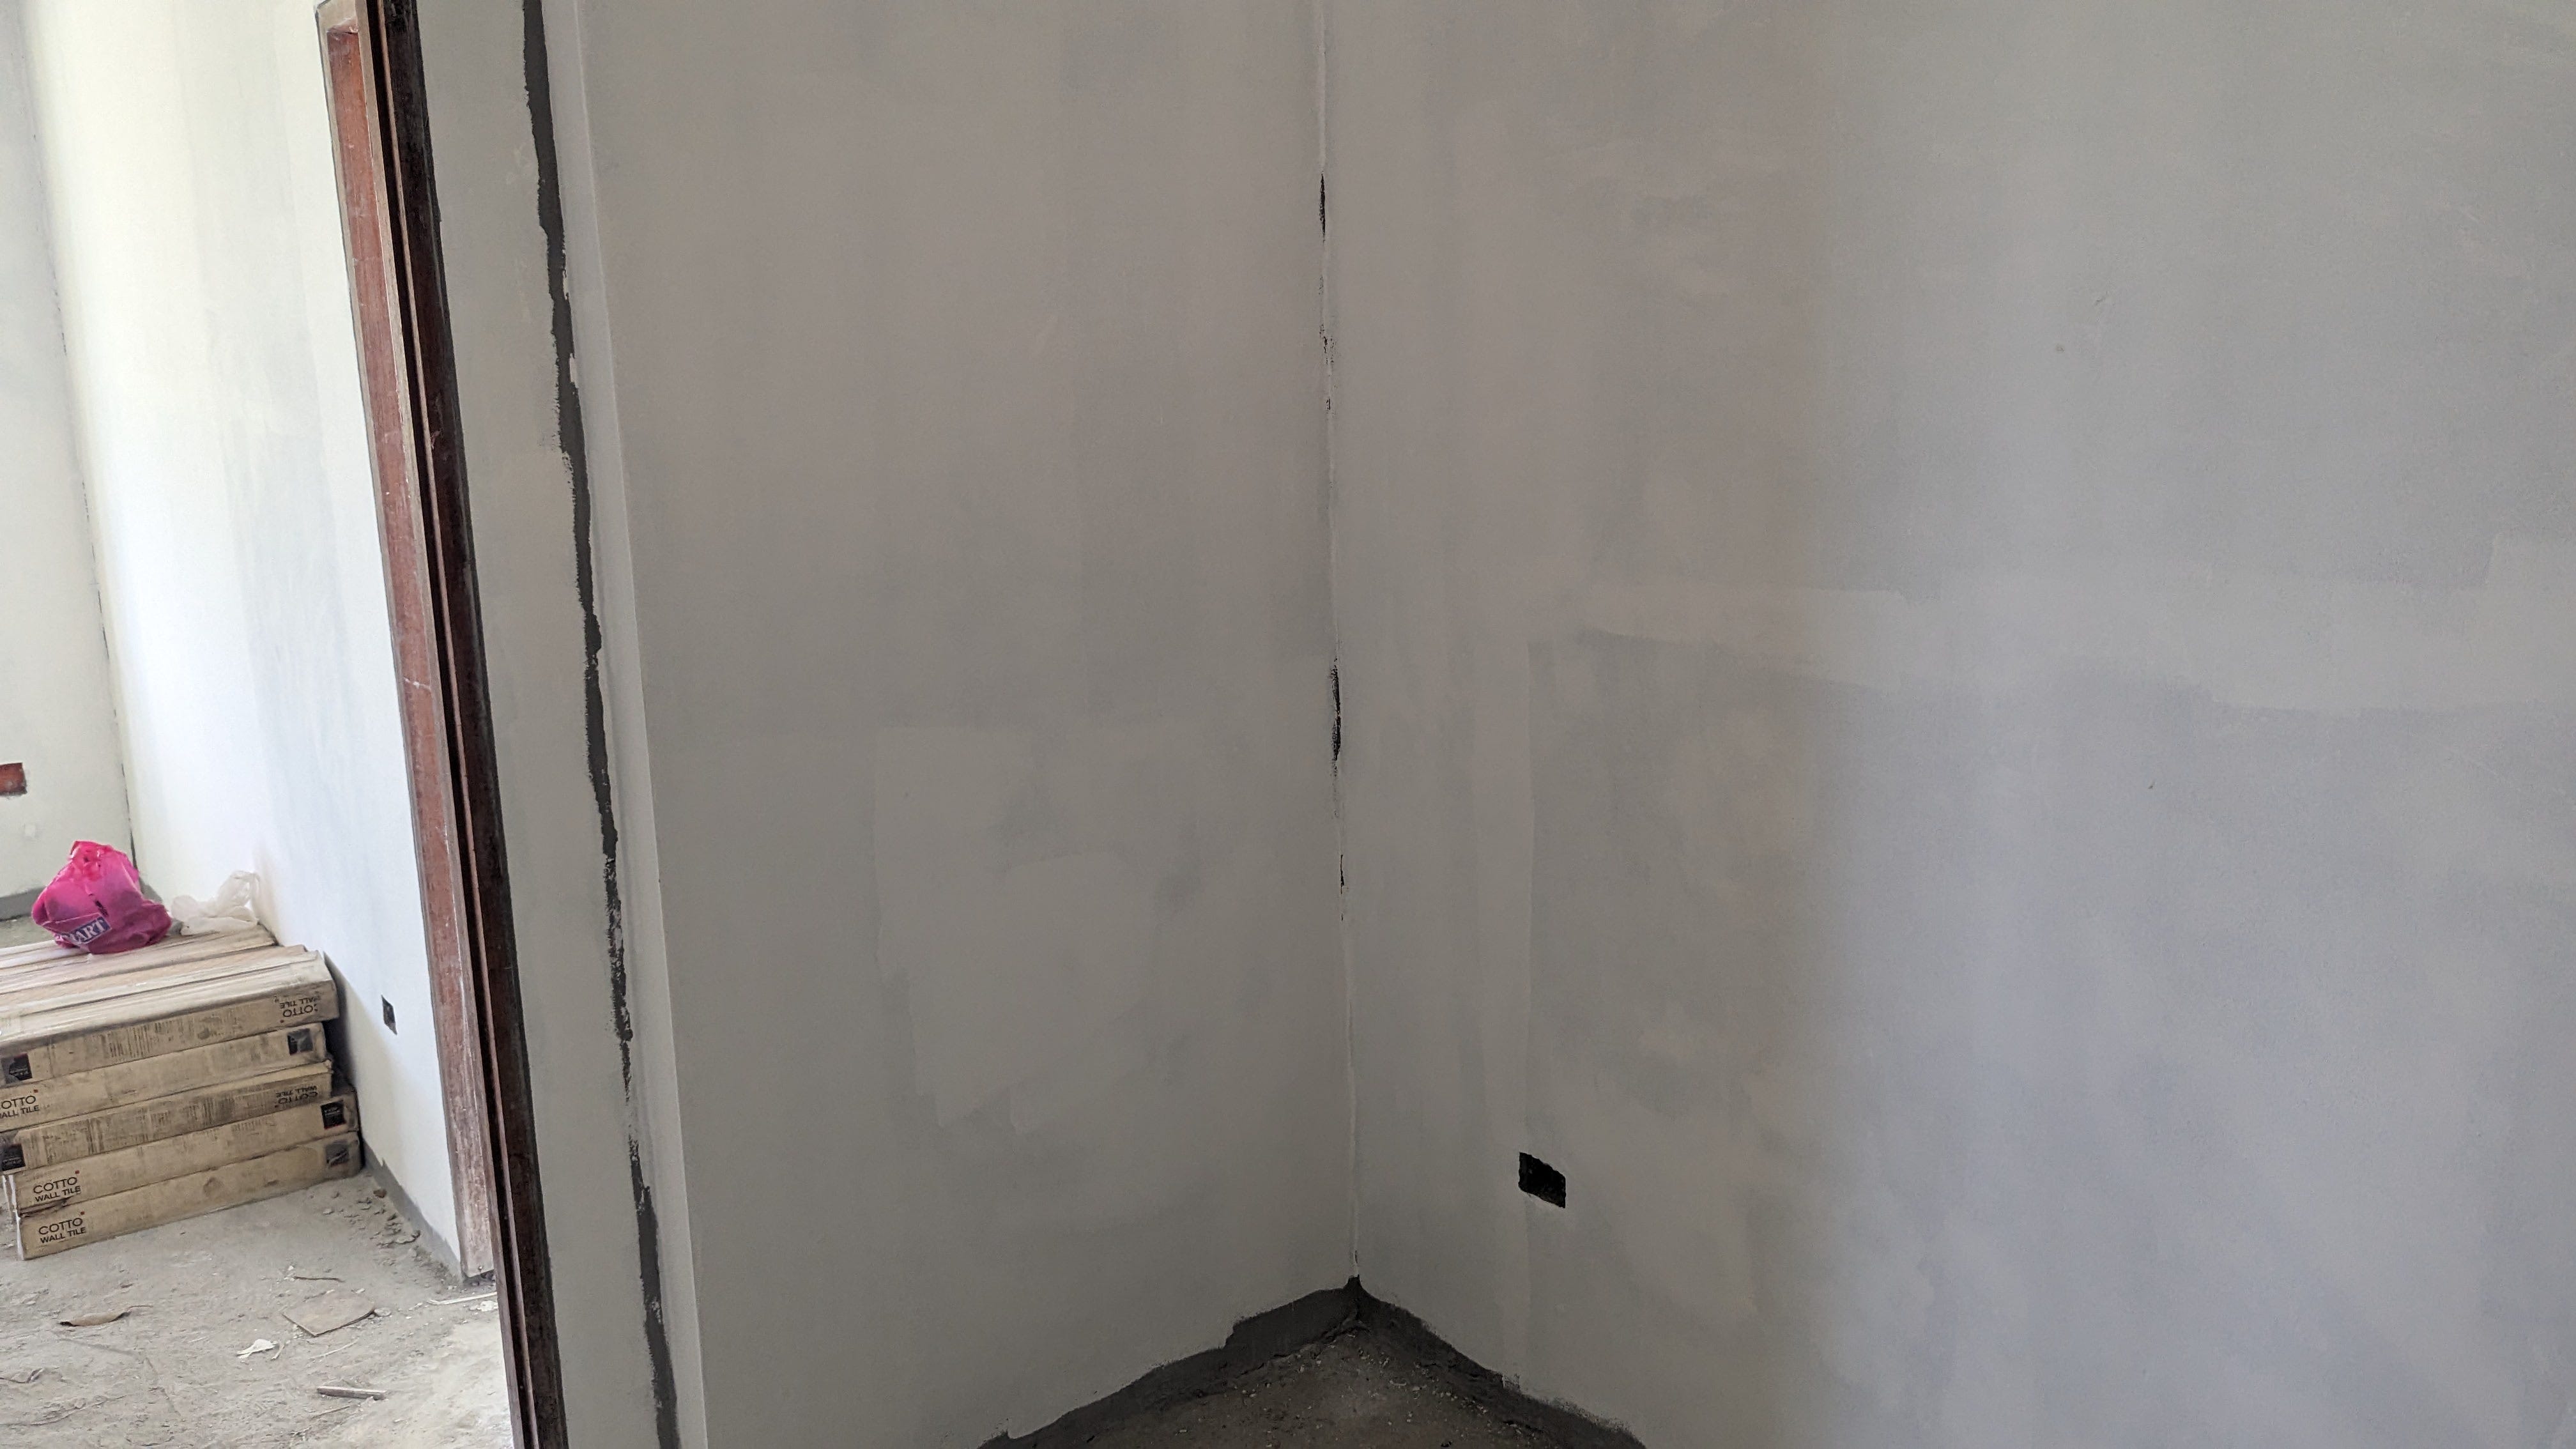
The first coat, anyways. I carefully selected the paint colour based on our palette and ironically enough landed on Sand Stone (our property development company is called Sand & Stone Development.)
I considered using a variety of wall colours but spoke to some interior design pros who said that one colour for the whole villa — so long as it’s a nice neutral colour — works best.
The bathroom feature walls are tiled
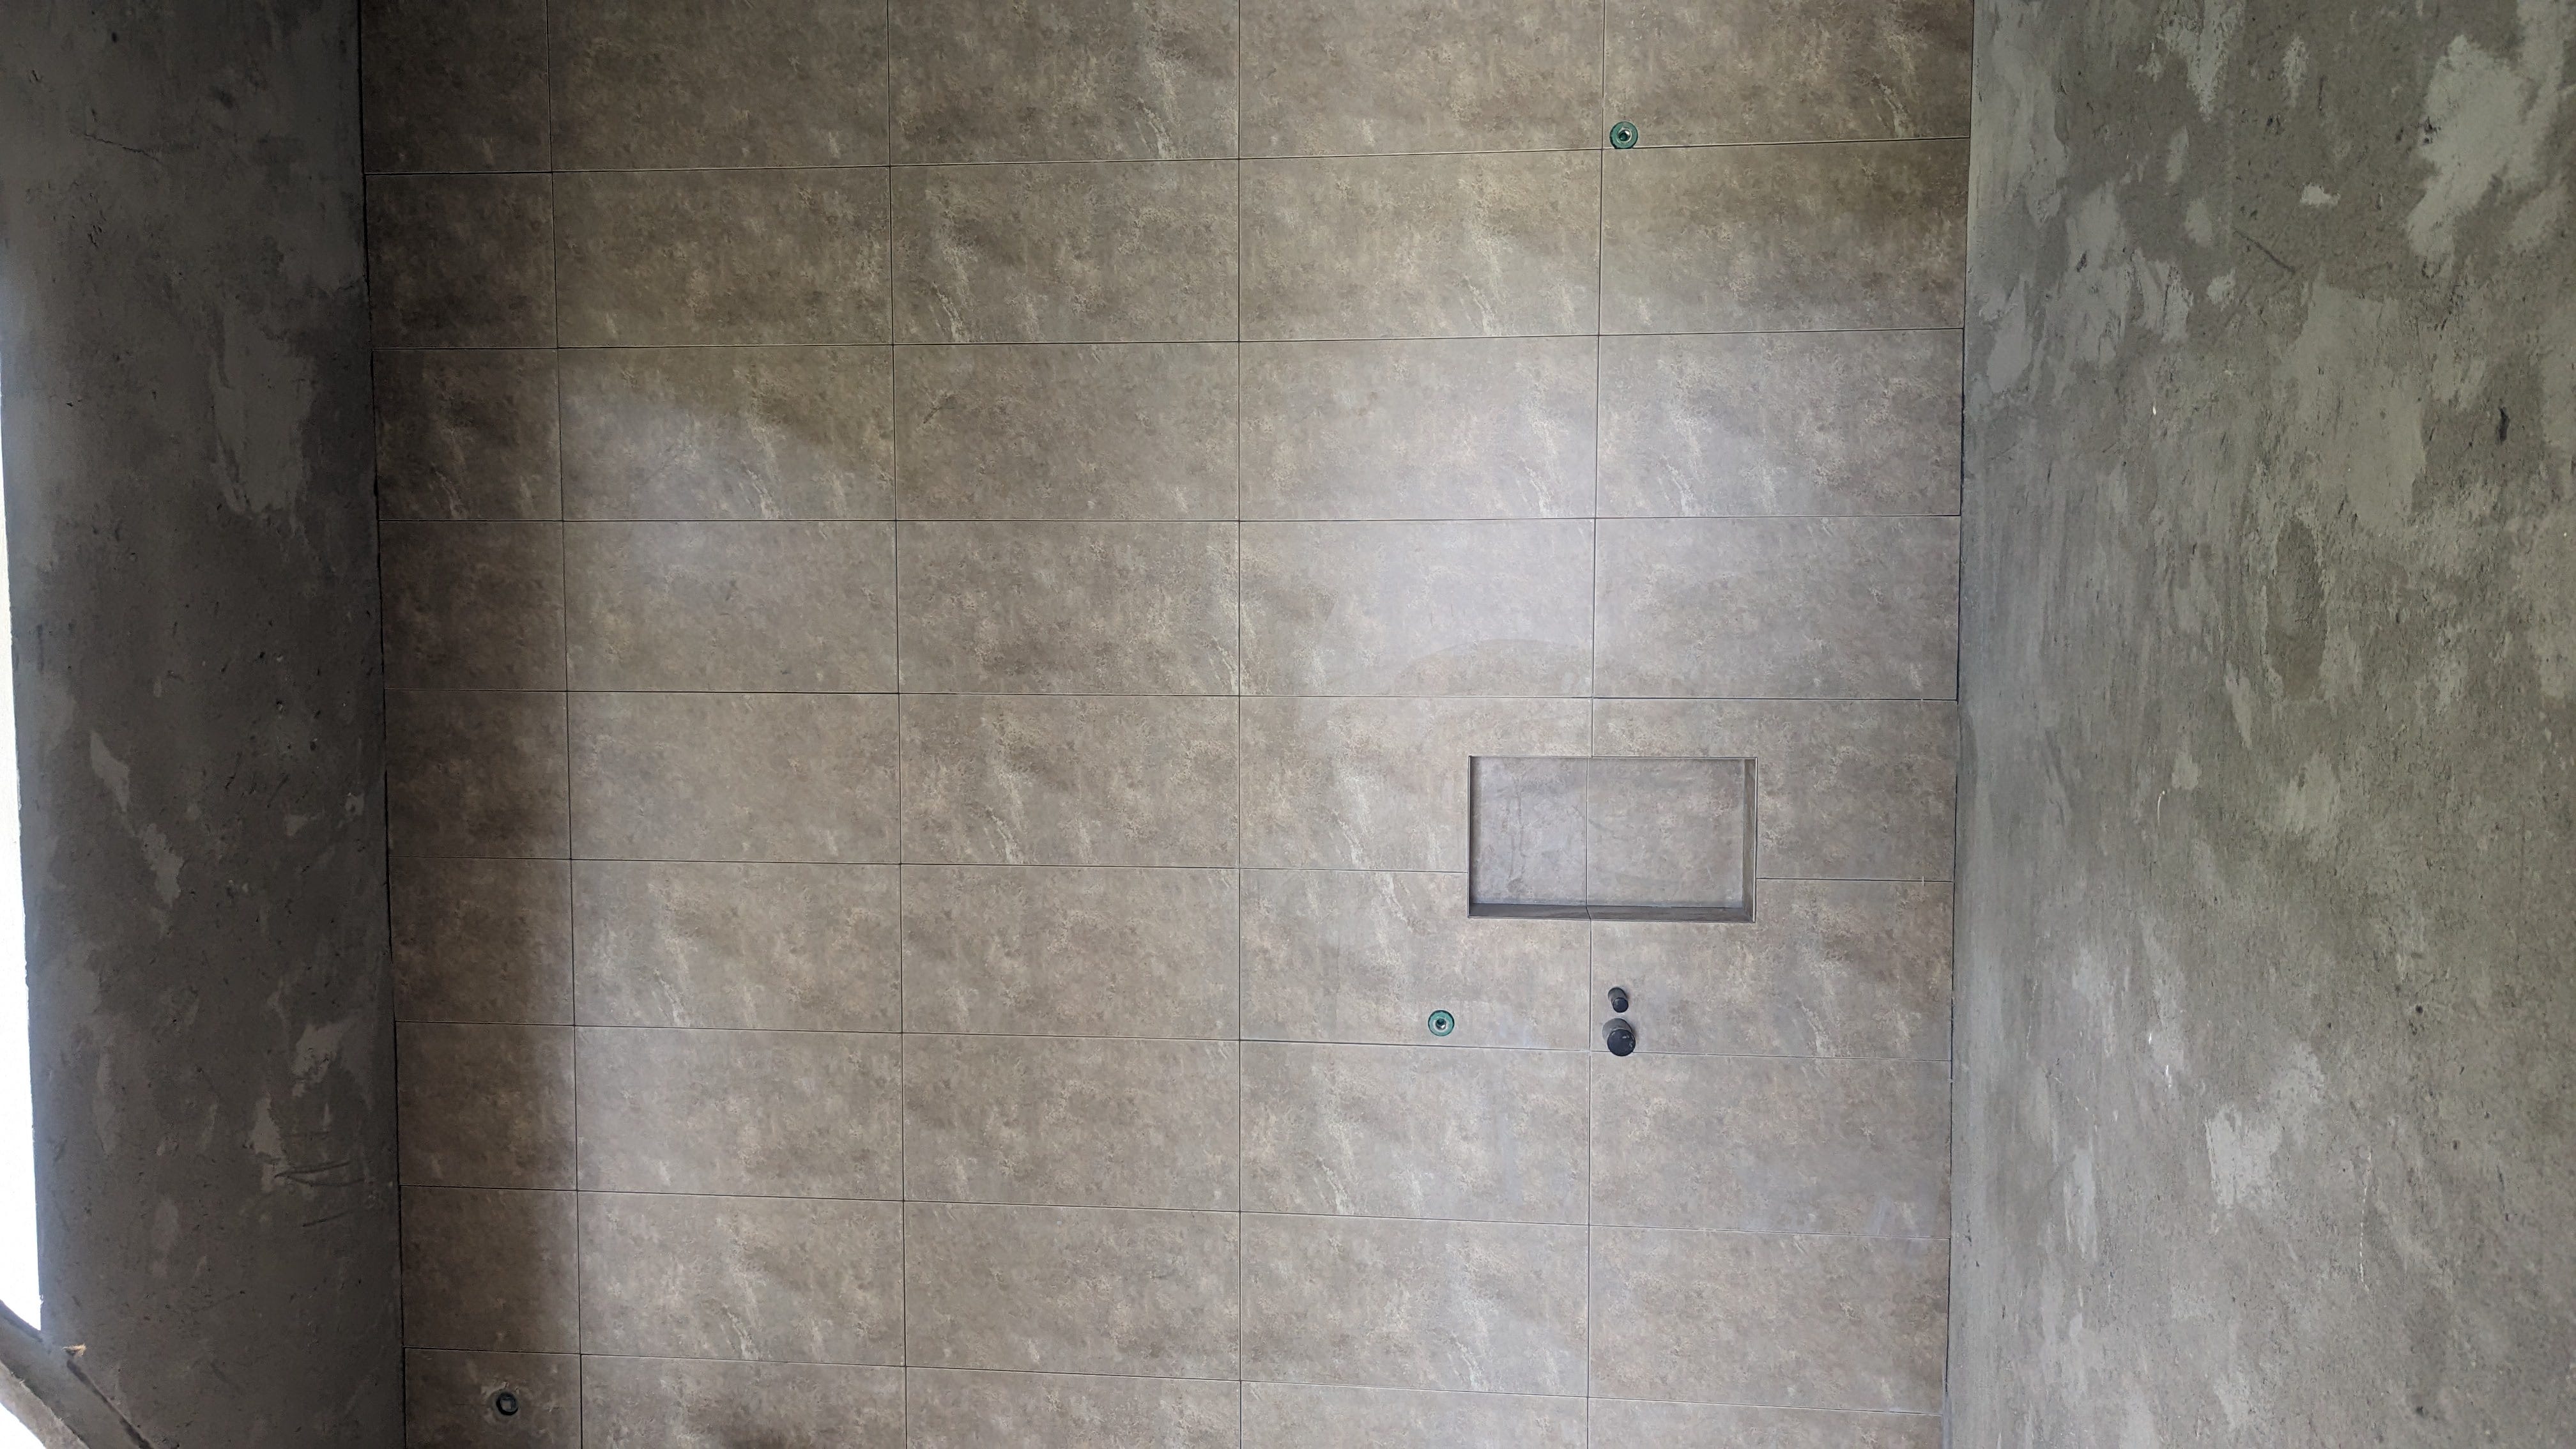
Though the tile I wanted for the feature wall was discontinued and they didn’t have enough stock left to do our full villa so we skipped it. But now I’m glad as I’ve decided it wouldn’t have really fit in like I had originally thought.
We’ve decided on the layout for the bathroom floor tiles


We’re going with the herringbone style, which looks awesome when we lay it out. It was a bit tricky deciding which direction the arrow should go into, but I think I got it right for each bathroom according to the direction of light rule. Also I LOVE the tiles, which have a textured woven effect that really goes with the interior design. WDYT?
The bedroom floors are being planked

And when questioned about how to lay the planks, I learned a little interior design trick that you always lay planks in the direction of the light flow, to minimize the effect of light bouncing off the edges and make the floor more seamless.
The kitchen is being designed


I mean, it’s already technically designed in the plans and in the 3D renderings but we needed to finalise everything and make sure it was absolutely as we wanted it. Good thing we did as I added an additional work surface that I think will really increase the efficiency of the kitchen area.
The pool is eeeeeempty


Remember how it was almost overflowing after rainy season? Well it’s nearly dry now! That free water was super handy for mixing concrete and other construction needs, which is why it’s nearly gone. I mean, it’s hot but not hot enough to make an entire 9 X 3 square meter pool of water evaporate.
But don’t worry! We were never planning on using the rainwater for anything but the construction anyways — pool water has to be brought in separately once the build is totally finished (so no construction dust gets into it).
The ceiling is in
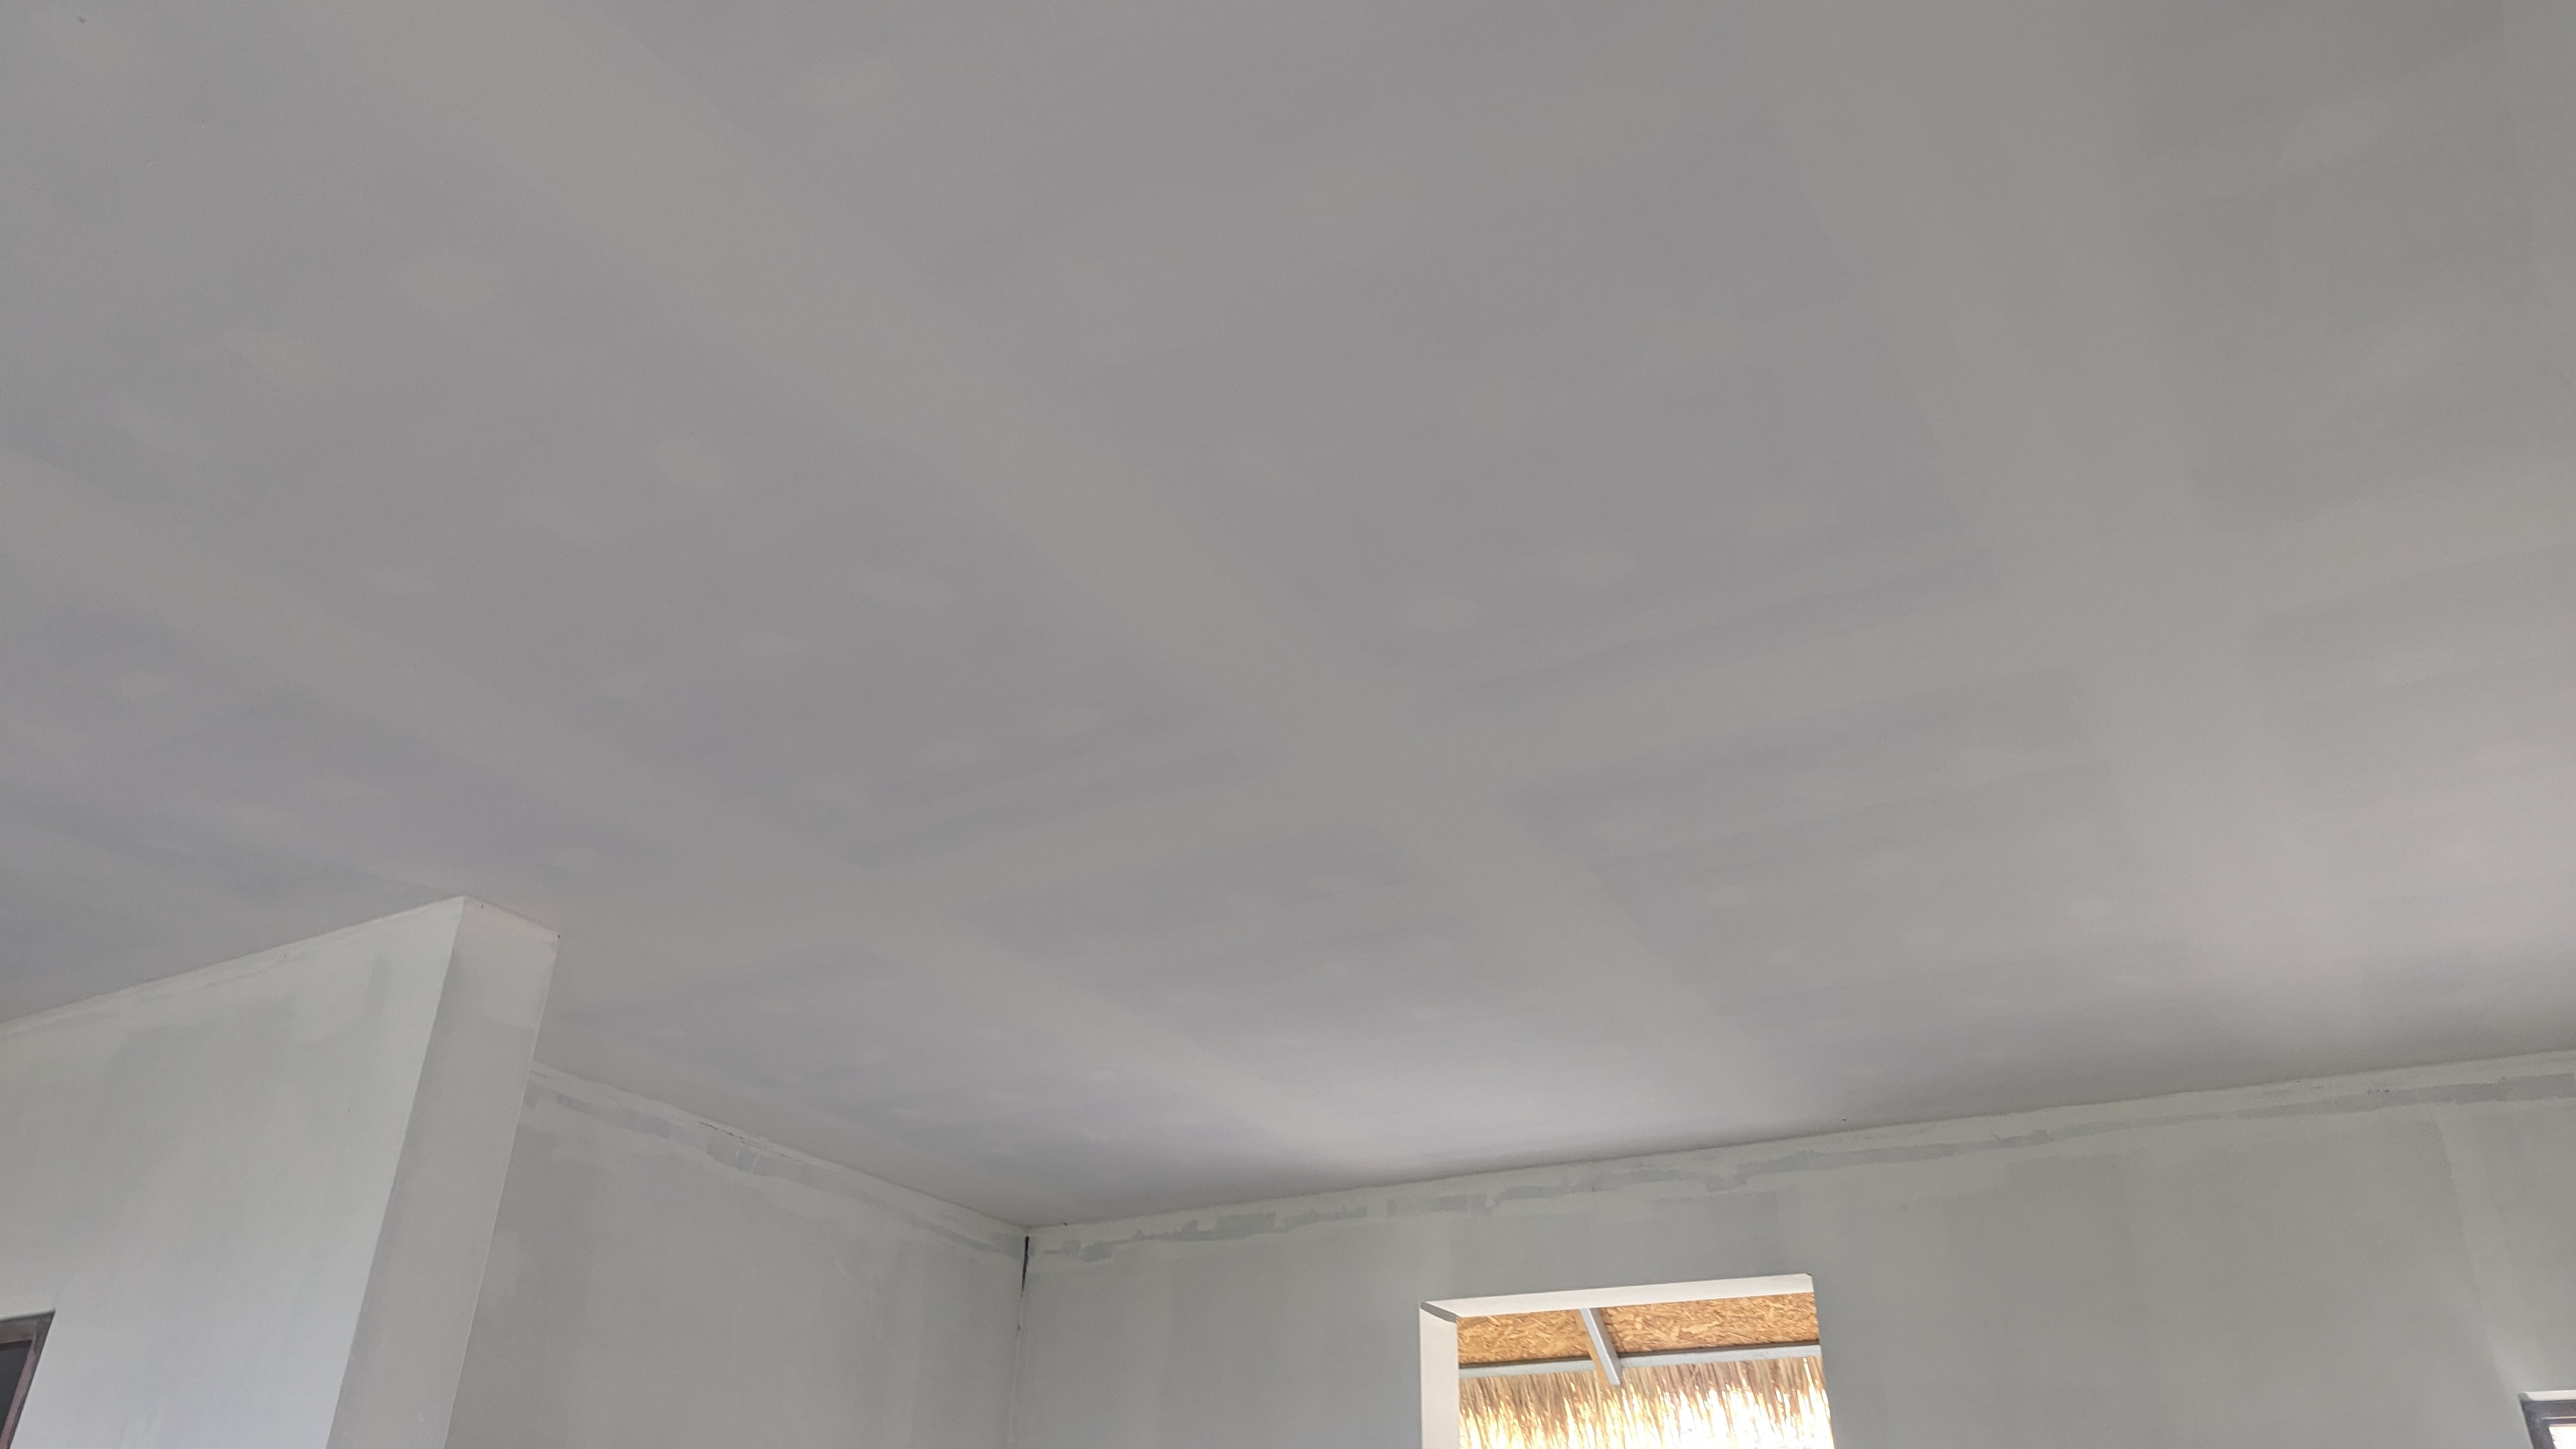
We went for high ceilings. They’re 3 meters high (we had asked for 3.1 but the contractor made them 3… oh well).
The landscaping plans are being finalised
We’re working with a fabulous landscaper — the same one who encouraged me to develop the grand underside of the villa into a cool natural sitting/reading/social area surrounded by plant curtains. (See my TikTok:)
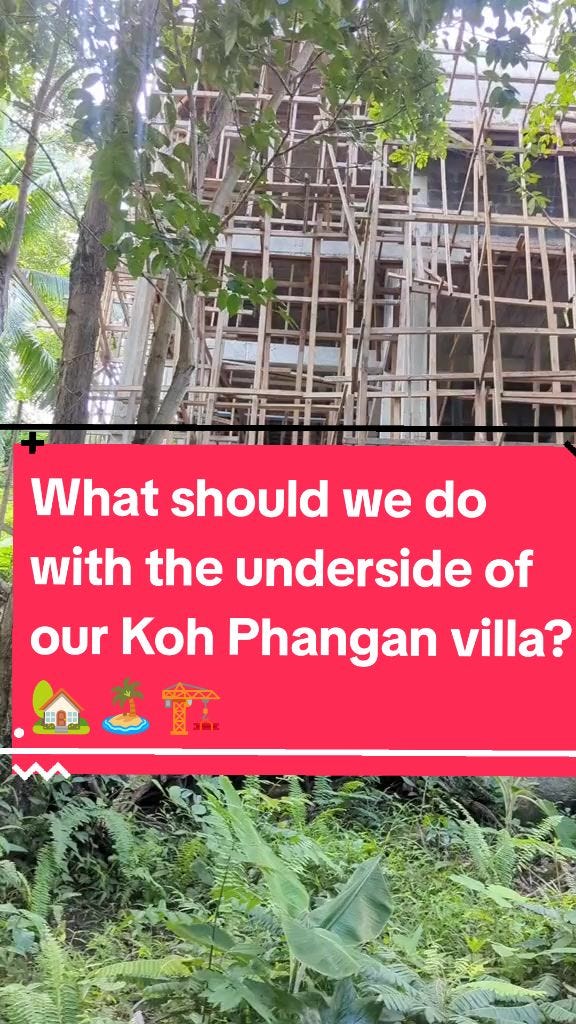
 Tiktok failed to load.
Enable 3rd party cookies or use another browser
Anyways so I met with him again and we talked about my vision for the interior and exterior landscaping. See, the nature and mountains surrounding The Woodrow is so stunning that I want to bring as much of it as possible into the villa itself.
This will mean that we have to design some sort of automated watering system for the indoor and terrace plants, so we’re now looking that. We can ideally use it as a protype for future villas we build, since indoor greenery is now more popular than ever!
The 3D Realisation is Finished
Our 3D architect Aaz has taken the 3D realisation as far as it can go. Unfortunately, because of the size of the file and the way it was built (it was one of our first models), the file is now too heavy for any more changes. Which means that any changes we make now — ie. changing the storage room to a 4th bedroom/study — can’t be incorporated. Which is a shame, but hey, it’s still one hell of an asset that really helps people understand our vision for The Woodrow.
So now you’re up to speed! Also, it’s on the market, so if you’re interested or know someone who is, message me! We are offering commission as mentioned — get in touch for details on that, too. I’m putting together a presentation on the villa with all information a buyer or investor would want. It should be ready soon.
Meanwhile, if you’re interested in talking to Sand & Stone Development about building your dream villa — whether to live in or for investment (or BOTH!) — get in touch about that too, and I’ll put you in touch with our team.
Any ideas or feedback on how it’s all looking so far? It’s most welcome! Pop it in a comment down below. I’d love to hear from you.
Happy weekend folks!
And as promised, here’s the link to last week’s post, 7 Reasons I’m Over Living on Koh Phangan.
The villa is really coming along well. Great idea to add that extra room. The whole project looks stunning. Sand and Stone has really done an amazing job.